My friend and I actually signed up for this class and we both admit that we are obsessed with macarons. For those of you who don't know what macarons are, they are small round-shaped chewy almond meringue cookies sandwiched between a filling. The filling can consist of buttercream, ganache or caramel. We both attempted to make macarons (on separate occasions) and both failed miserably. We were both so happy to learn that Valerie was offering this class! It was taught by Connie Nelson, the entrepreneur behind Mirabelle Macarons.

The class started bright and early on a Saturday morning. Valerie was very gracious to offer us freshly baked scones with homemade preserves for breakfast. After eating breakfast, we started our class.
 |
| Valerie (L) and Connie (R). |
We first started by beating the egg whites. Connie had aged the egg whites prior in a glass loosely covered with plastic wrap, left on the counter to age for a few days. The egg whites are the most important ingredient when making macarons; it affects the amount of moisture in the macaron shells that help maintain moisture and give the macaron its characteristic chewiness. The reason for leaving the egg whites on the counter is to let some of the moisture evaporate from the egg whites (or so I think anyway!) so the batter doesn't become too runny. While beating the egg whites, we gradually added the cream of tartar and icing sugar mixture until we reached a stiff consistency (you should be able to turn the bowl upside down without any of it falling out). We then added the ground almond and icing sugar mixture one cup at a time. We mixed this in by hand because you must slowly fold it in with the egg whites, being very careful not to deflate the whites (you can't over mix either). Connie mentioned that once we reach the consistency of magma, or, when you lift the batter and drop it back down, it should slowly fold back into the mixture.


I can't remember if we coloured the egg whites first or added colouring while mixing in the ground almond mixture (I think it would be best if you added colouring in the latter), we coloured our macarons green and yellow for green tea and lemon. Yum!
We then piped our macarons on to sheets then rapped them (hitting them hard against a counter or table to let out air bubbles) and then let them sit out on the counter for about 30 minutes (or when the surface of the macaron is dry to touch). This enables the macaron to develop their 'pieds' or feet as the pastry chefs call them. Without this characteristic, they would not be considered a macaron (some chefs attribute this characteristic to leaving the macaron surface dry, or "macaronnage" with is the term used for folding the almond mixture with the egg whites). Once the surface was dry, we baked them in the oven for about 15 minutes with foil paper lightly covering the top (this avoids the macarons from burning).
 | |||||
| Me piping the macaron shells! |
 |
| Making the filling for our macarons. |
While we were waiting for our filling to cool, Valerie was kind enough to share some of her preserved Evans cherries (sour cherries) she had made herself. The recipe was shared to her by Connie DeSousa, the famous Calgarian chef behind CHARCUT (and if you were a Top Chef Canada buff, she made it to the top final 3 before being eliminated in last season's Top Chef Canada). It's quite a procedure--head here to find out the story and how they are made! The result is a delicious mouth-puckering combination of sweet and sour. Connie uses the leftover syrup from the cherries to sweeten drinks in her restaurant.
 |
| Valerie explaining her Evans cherry story. |
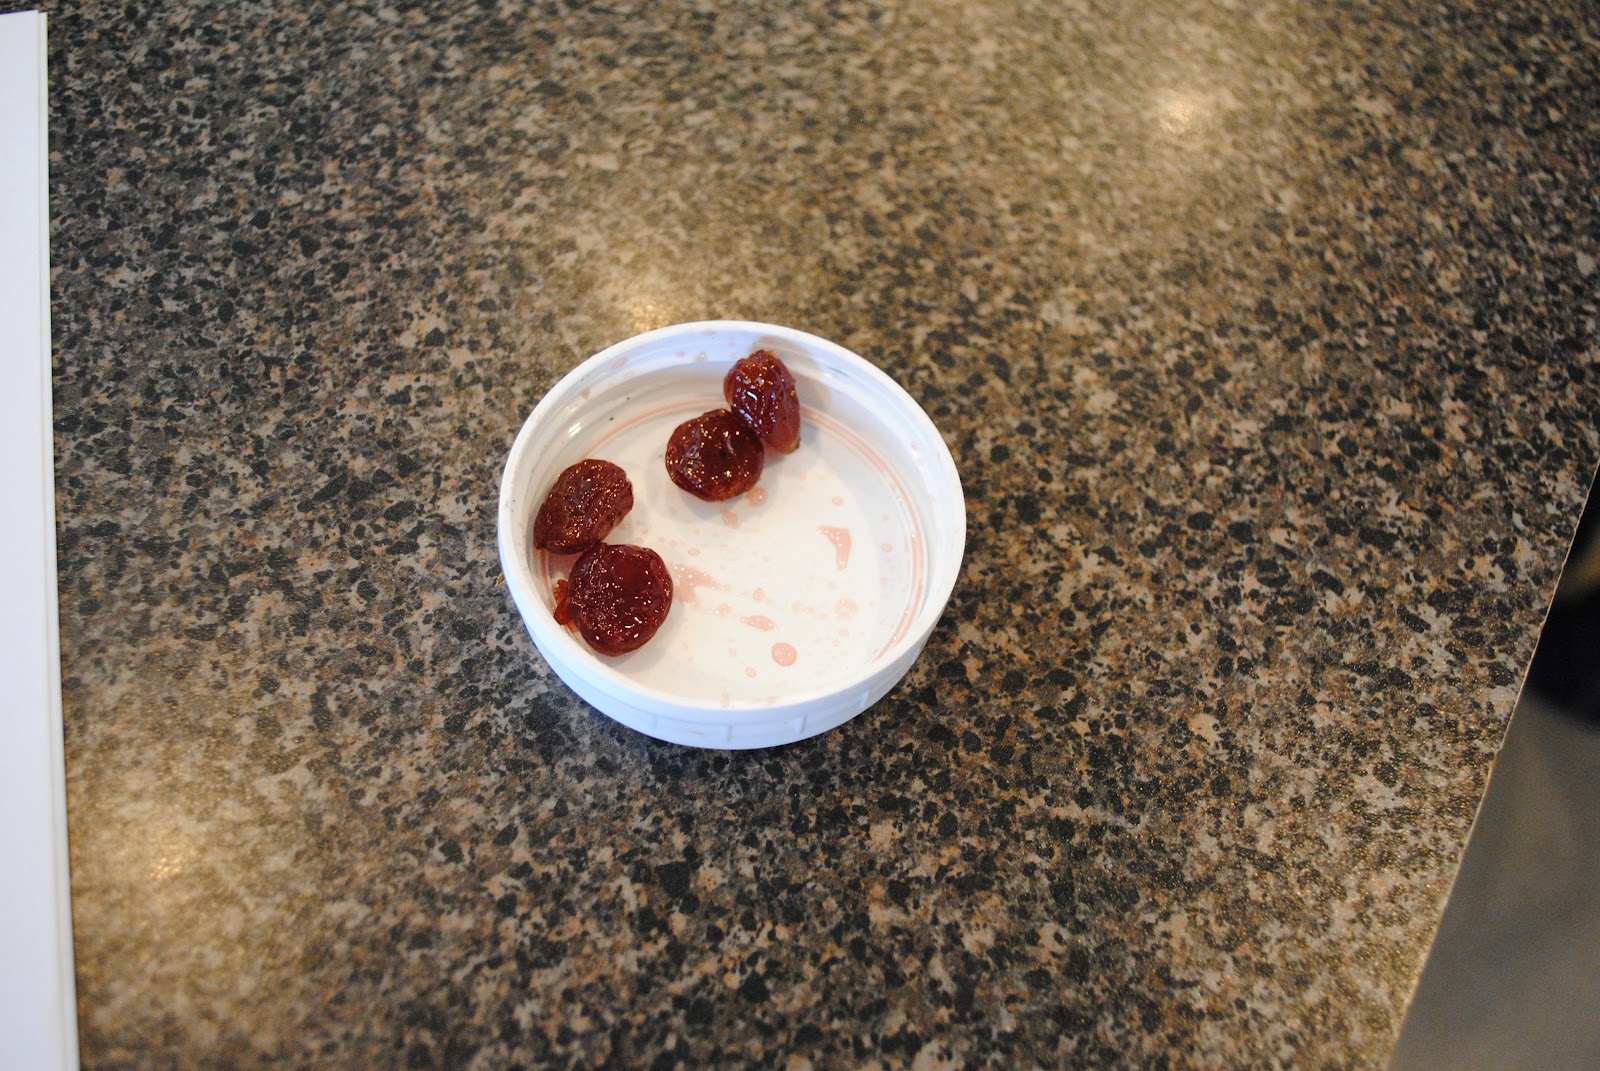 |
| Soooo good! |
 |
| The syrup leftover. |


 |
| Group shot! |
Beautiful post, Mona!
ReplyDeleteI plugged in to read your other post and found this one. Lovely recap and so glad you enjoyed it. Can't wait to see future posts of your macarons!
:)
Valeire